

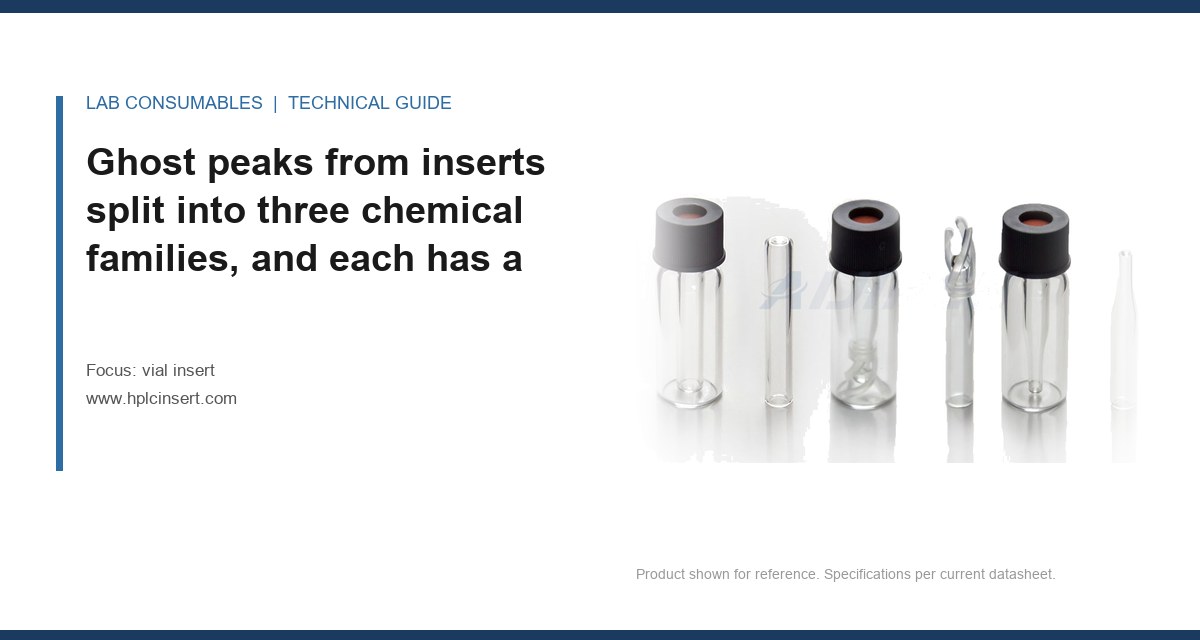
We spent nine days chasing a ghost peak at 3.1 minutes on a 1260 Infinity II running a 250 x 4.6 mm C18 column, 0.1% formic acid in water/acetonitrile gradient, 1.0 mL/min, 40 °C column, 8 °C sample tray. The peak integrated at 0.4 mAU on a 210 nm channel, which is small enough that most people would ignore it. The method had a 0.05% area threshold for reporting, and the peak was right at the edge. The customer was a stability lab, and the peak came and went across three sequences. When we finally tracked it, it was not the column, the mobile phase, or the autosampler needle. It was a polypropylene vial insert from a lot that had been molded the previous quarter, and the ghost was an oligomer slip agent bleeding off the insert wall at 8 °C into a 60:40 acetonitrile/water extract. That is the kind of ghost that vial insert ghost peaks, extractables and contamination problems produce: small, method-dependent, and almost always blamed on something more expensive.
Ghost peaks from inserts split into three chemical families, and each has a temperature signature
When I audit a contamination complaint now, I sort the suspect peak by what it is made of before I touch a sampler. Polypropylene inserts, glass inserts, and the septa and liners sitting above them release different compounds at different temperatures. The release profile is the fastest diagnostic you have.
Polypropylene: oligomers, slip agents, and antioxidants
Polypropylene (PP) is the default material for 150 µL and 300 µL inserts because it is cheap and it does not shatter. It is also the dirtiest of the three common insert materials if it is not post-molded washed. What bleeds:
- Oligomers and low-molecular-weight polymer fragments, typically C12 to C30, eluting as a broad hump or a series of unresolved peaks in the 2 to 6 minute window on a 150 mm C18 at 1.0 mL/min.
- Erucamide and oleamide slip agents, which show up as sharp, symmetric peaks by GC-MS in the C18 to C22 range and as poorly retained peaks in reversed-phase LC.
- Phenolic antioxidants (BHT-type, Irganox-type), which oxidize to quinone methides and give a characteristic 254 nm response.
- Residual mold release and catalyst residues, which are less predictable and often show up as a matrix effect rather than a discrete peak.
The temperature signature is the giveaway. PP extractables barely move at 4 to 8 °C in a cooled autosampler tray over a 24-hour sequence, but they jump when the sample sits at ambient (22 to 25 °C) for more than a few hours, and they jump again when the method heats the sample (some derivatization and headspace methods run at 40 to 60 °C). If the ghost only appears in the last third of a long sequence, suspect the tray temperature and the residence time, not the column.
Glass: alkali leaching and the borate question
Type I borosilicate glass (the USP <660> and ISO 3585 material) is chemically inert for most HPLC work, but it is not silent. At neutral pH, sodium and borate leach slowly from the inner surface. In LC-UV this is usually invisible. In LC-MS with an ESI source, sodium adducts and borate-related background raise the baseline and can suppress ionization. The signature is a rising baseline in the first 2 minutes and a [M+Na]+ adduct appearing where you expected [M+H]+.
The bigger glass risk is the silanization or surface treatment some suppliers apply to reduce adsorption of basic analytes. Those coatings can bleed. A treated glass insert that has been improperly cured will release a trimethylsilyl-derived background that shows up as a persistent m/z 73 or m/z 147 in GC-MS, and as a broad baseline rise in LC-MS. If your method targets amines and you switched to a “low-adsorption” insert to fix tailing, run a blank before you trust it.
Septa, liners, and the cap above the insert
I am not going to cover seal integrity here, that is a separate problem. But the septum is the top of the insert’s chemical environment, and it is a real source. Silicone septa with PTFE facing are fine for most work. Unfaced silicone, or a septum that has been punctured more than about 50 times with a 22-gauge needle, starts to shed silicone oil and gives a characteristic siloxane background (m/z 73, 147, 207, 281 in GC-MS; a broad baseline rise in LC-MS). The insert is not the source, but the insert is where the extract lands.
How to isolate the source with blanks and placebos, in the order that saves time
The mistake I see most often is running a single mobile-phase blank, seeing nothing, and declaring the insert clean. A mobile-phase blank does not contact the insert. You need three distinct blanks, run in this order, and you need to compare them peak by peak at the same retention time and the same wavelength or m/z.
The three-blank sequence
- System blank. Mobile phase only, injected from a sealed vial with no insert. This establishes the column and system baseline. If the ghost appears here, the insert is innocent and you are looking at mobile phase, column bleed, or a dirty injection port.
- Insert blank. The same mobile phase (or the exact sample diluent) pipetted into the suspect insert, capped, and run through the same autosampler tray under the same temperature and the same residence time. This is the insert extractable test. If the ghost appears here and not in the system blank, the insert is the source.
- Placebo. The full sample matrix without the analyte, prepared in a fresh insert from the same lot. This separates insert extractables from matrix effects and from the diluent itself.
The residence time matters. Run the insert blank at the front of the sequence and again at the end. If the ghost grows from 0.1 mAU to 0.6 mAU across a 12-hour tray hold at 8 °C, you have a leaching insert and a time-dependent extractable, and the fix is a different lot or a different material, not a longer equilibration.
Confirming with a material swap
Once the insert blank shows the ghost, swap materials and rerun. Take the same diluent, the same volume, and put it in a glass insert from a different supplier, a PP insert from a different lot, and a sealed 2 mL vial with no insert at all. The last one is the control. If the ghost disappears in the no-insert vial and returns in the PP insert, you have your answer. If it persists in all three, the problem is upstream of the insert and you should look at the diluent and the pipette tips.
This is where a lot of labs waste money. They replace the column, then the mobile phase, then the autosampler. The insert is a fraction of the cost of any of those, and it is the easiest to swap. Keep a known-clean reference lot of inserts on the shelf specifically for this test. A vial insert from a supplier who can give you a lot-specific extractable profile is worth the small premium when you are chasing a 0.4 mAU ghost.
Temperature, pH, and solvent decide the extractable rate more than the material does
Material choice sets the ceiling on what can bleed. The method conditions set the rate. I have seen the same PP insert lot pass a 4 °C aqueous blank and fail a 40 °C 60:40 acetonitrile blank by a factor of 20 in peak area. Three variables dominate.
Temperature
Extraction follows Arrhenius behavior, and the practical rule of thumb is that a 10 °C rise roughly doubles to triples the extractable rate for polymer additives. An insert held at 8 °C in the tray for 8 hours is a different chemical object than the same insert held at 25 °C for 8 hours. If your autosampler has a tray cooler, set it and verify it. A tray that is set to 8 °C but reading 14 °C because of a failed Peltier or a blocked fan will produce ghosts that appear and disappear with the lab’s ambient temperature. I have seen this twice.
Solvent strength and pH
Acetonitrile and methanol are far more aggressive extractants than water for PP additives. A 100% aqueous diluent at pH 7 extracts very little from a clean PP insert. A 60:40 ACN/water diluent at pH 2.5 (0.1% formic acid) extracts oligomers and slip agents readily. High-pH diluents (pH 9 to 12) attack glass and can accelerate sodium and borate leaching, and they attack PP more slowly but still measurably over a 24-hour hold. If your method runs a high-pH diluent, glass is the safer insert material for the analyte and the worse one for the MS baseline.
Surface area and fill volume
A 150 µL insert filled to 100 µL has a higher surface-to-volume ratio than a 300 µL insert filled to 250 µL. More wall contact per microliter means more extractable per microliter. If you downsized to a 150 µL insert to save sample, you also increased the extractable concentration in the injected aliquot. That is a real trade-off and it is one reason a method that was clean in a 300 µL insert can show a ghost after a “cost-saving” change to 150 µL.
Comparison table: insert material versus extractable risk
| Material | Typical extractables | Worst-case conditions | Detection signature | Practical mitigation |
|---|---|---|---|---|
| Polypropylene (PP) | Oligomers C12-C30, erucamide/oleamide, phenolic antioxidants | 60:40 ACN/water, 25 °C, 8+ h hold | Broad hump 2-6 min (LC-UV); C18-C22 peaks (GC-MS); 254 nm response | Post-molded washed grade; verify lot extractable; keep tray at 8 °C |
| Type I borosilicate glass | Na, borate, silanol, surface-treatment residues | pH > 8, long hold, LC-MS | Rising baseline first 2 min; [M+Na]+ adducts; m/z 73/147 in GC-MS if treated | Untreated glass for MS work; run insert blank at method pH |
| Glass, silanized | Trimethylsilyl residues, curing byproducts | Fresh lot, insufficient cure | Persistent m/z 73/147; baseline rise | Demand cure certificate; blank every new lot |
| PTFE-faced silicone septum (above insert) | Silicone oil, siloxanes | >50 punctures, 22-gauge needle | m/z 73/147/207/281; broad baseline | Replace septum at 50 punctures; use PTFE-faced |
Two field cases where the insert was the source and the fix was specific
Case 1: the 3.1-minute ghost that only appeared after lunch
Symptom. A stability lab running a 30-minute gradient saw a 0.4 mAU peak at 3.1 min on the 210 nm channel. It appeared in the second half of every afternoon sequence and was absent in morning sequences. The lab had already replaced the column twice and the mobile phase once.
Measurement. We ran the three-blank sequence. System blank: clean. Insert blank at the front of the sequence: 0.05 mAU at 3.1 min. Insert blank after an 8-hour tray hold at a setpoint of 8 °C: 0.55 mAU at the same retention time. A tray temperature probe read 15.2 °C. The Peltier cooler had a failed fan, and the tray was warming through the afternoon as the lab HVAC cycled.
Fix. Replaced the tray cooler fan, verified 8.0 ± 0.5 °C across a 12-hour hold, and switched to a post-molded washed PP insert from a lot with a documented extractable profile. The 3.1-minute peak dropped to below the 0.05% reporting threshold and stayed there across three sequences. The insert was not defective. The insert was being held at a temperature that let it bleed, and the method had no margin for that.
Case 2: the sodium adduct that appeared only in the 150 µL inserts
Symptom. An LC-MS method for a small basic analyte showed a rising baseline in the first 2 minutes and a persistent [M+Na]+ adduct at about 15% of the [M+H]+ intensity. The lab had switched from 300 µL to 150 µL glass inserts to reduce sample consumption. The 300 µL inserts had been from one supplier; the 150 µL from another.
Measurement. Insert blank in LC-MS, 5 µL injection, same diluent (50:50 ACN/water, 0.1% formic acid). The 300 µL insert blank gave a flat baseline and no sodium adduct. The 150 µL insert blank gave a rising baseline and a clear [M+Na]+ signal at the analyte retention time. The 150 µL inserts were a treated glass grade with a surface coating that was not fully cured. The sodium came from the glass itself, mobilized by the larger surface-to-volume ratio of the smaller insert.
Fix. Switched to untreated Type I borosilicate 150 µL inserts from a supplier who provided a lot-specific leachables statement, and added an insert blank to the method’s system suitability at the start of every sequence. The sodium adduct dropped to below 2% of [M+H]+. The lesson is that a material change and a size change are two changes, and the lab made both at once. When you change insert size, re-run the insert blank. The 2 mL vial and insert geometry interact with the fill volume, and the extractable concentration scales with surface-to-volume ratio.
A troubleshooting checklist you can run in under two hours
If you have a ghost peak and you suspect the insert, work through this in order. Each step is cheap and each one eliminates a variable.
- Step 1. Run a system blank (no insert). If the ghost is present, stop; the insert is not the source.
- Step 2. Run an insert blank with the exact method diluent in the suspect insert, at the method tray temperature, injected immediately. Note the peak area at the ghost retention time.
- Step 3. Repeat the insert blank after an 8-hour tray hold at the method temperature. Compare areas. A growth of more than 3x indicates a leaching insert.
- Step 4. Run the same diluent in a known-clean reference insert lot and in a no-insert sealed vial. If the ghost disappears in both, the suspect lot is the source.
- Step 5. Run a placebo (matrix without analyte) in a fresh insert from the suspect lot. This separates insert extractables from matrix effects.
- Step 6. If the ghost is a discrete peak, confirm identity by LC-MS or GC-MS. Oligomers and slip agents have recognizable signatures (see table). Sodium and borate are recognizable by adduct pattern.
- Step 7. Check tray temperature with an independent probe, not the instrument display. A 5 °C error is enough to double the extractable rate.
- Step 8. Check septum puncture count. If above 50, replace and rerun the insert blank.
If you get through step 4 and the ghost is still there in the no-insert vial, the problem is upstream. Look at the diluent water (TOC above 5 ppb is a common culprit), the pipette tips, and the mobile phase. At that point the insert is exonerated and you should be talking to your HPLC consumables supplier about the water system and the tips, not the inserts.
What to specify and what to demand from the supplier
The specification that matters for ghost peaks is not on the drawing. It is the extractable profile, and most insert suppliers do not publish one. Ask for it. A supplier who can give you a lot-specific extractable statement (even a simple UV scan of a 60:40 ACN/water extract held at 25 °C for 8 hours, reported at 210 and 254 nm) is a supplier who has thought about this problem. A supplier who cannot is a supplier you will be debugging at 11 p.m.
For PP inserts, specify post-molded washing and ask for the wash protocol. For glass, specify untreated Type I borosilicate unless you have a documented need for a surface treatment, and demand a cure certificate if you do. For both, specify the lot and keep a reference lot on the shelf. When you change suppliers, run the insert blank before you release the lot to production. The chromatography supplier relationship is only as good as the lot documentation behind it.
The external references are worth bookmarking. Agilent’s consumables and column documentation covers septum and liner bleed signatures. Thermo Fisher’s sample handling resources cover autosampler tray temperature effects. Restek’s technical resources have good material on ghost peaks and extractables. EPA SW-846 is the reference for container and holding-time requirements if your method is environmental.
The decision rule
When a ghost peak appears and the insert is a candidate, run the insert blank at the method tray temperature before you replace anything else, and compare the peak area at the front of the sequence to the same blank after an 8-hour hold. If the area grows by more than 3x, the insert is leaching and the fix is a different lot or a different material, not a longer equilibration or a new column. If it does not grow, the insert is not your source and you should look upstream. The number to remember is 3x, not “looks bigger.” A ghost that is stable across the hold is a method or system artifact. A ghost that grows is a chemical extractable, and the insert is the cheapest place to start.
References & further reading
Related resources from our lab consumables network:
- Vial Insert at hplcinsert.com
- 2Ml Vial at 2mlsamplevial.com
- Hplc Consumables at hplcconsumable.com
- Chromatography Supplier at chromatographysupplier.com
External references and standards: