

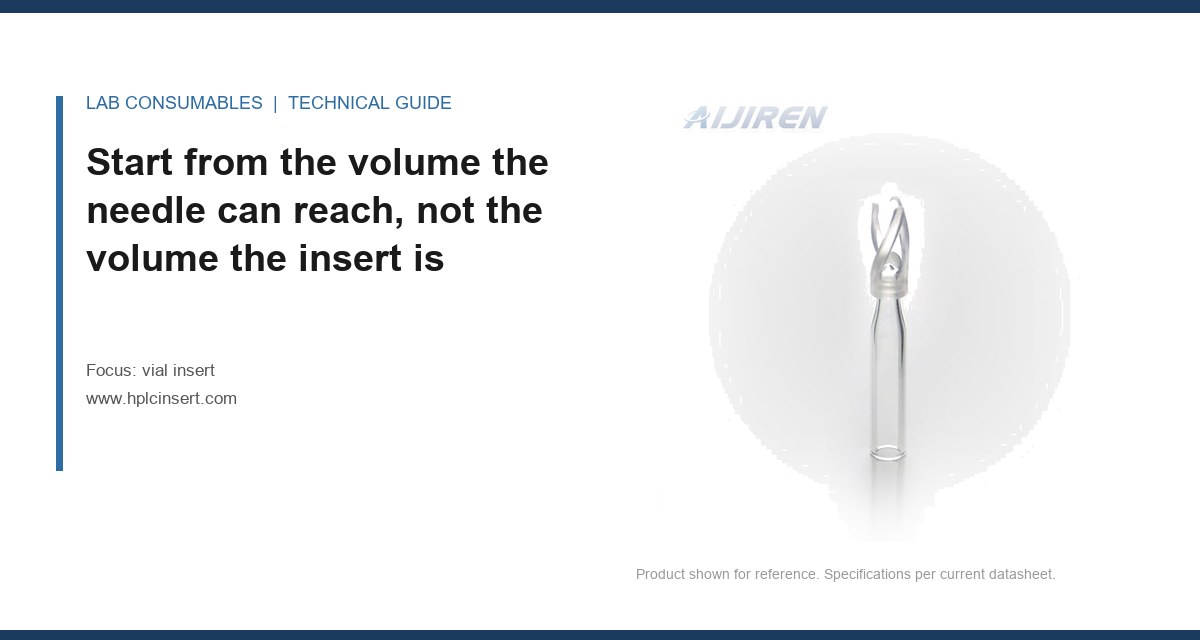
A 250 µL insert holding 150 µL of sample ran dry at injection 47 on a 48-position autosampler. The method called for 2 µL injections, the needle was a 23-gauge (0.64 mm OD), and the analyst had sized the insert from the vial, not from the sample. The last three chromatograms had baseline drift and a 12% drop in peak area that nobody caught until the sequence failed the system suitability check. That is a fill volume and puncture life problem, not a septa problem, and it is the single most common sizing error I see in vial insert selection.
Getting the insert right for a given injection count means doing three arithmetic problems before you open a catalog: how much liquid the needle can actually reach, how much liquid the sampler needs to leave behind, and how many times the same septum and the same liquid column will tolerate a needle. Skip any one of them and the sequence fails in a way that looks like an instrument fault. It is not. It is a sizing decision made three months earlier.
Start from the volume the needle can reach, not the volume the insert is rated for
Every insert has a nominal capacity printed on the box and a usable capacity that is smaller. The gap is the dead volume: the liquid that sits below the lowest point the needle can physically descend to, plus the liquid the needle cannot displace because of its own geometry. For a conical insert, that bottom fraction is real and it is not recoverable by pulling harder.
Take a standard 250 µL glass insert with a 5 mm outer diameter and a conical interior. The cone tip sits roughly 2 to 3 mm above the insert base. A 23-gauge needle with a 0.64 mm outer diameter and a 60-degree bevel cannot reach the last 2 to 4 µL without bottoming out and bending. A 26-gauge needle (0.46 mm OD) reaches lower but bends more easily. In practice, plan on 5 to 8 µL of unrecoverable dead volume in a conical insert and 15 to 20 µL in a flat-bottom insert with the same nominal capacity. That difference alone decides whether a 150 µL draw is safe.
Now add the sampler’s own reserve. Most autosamplers need a minimum liquid height above the needle tip to avoid aspirating air, and that reserve scales with the injection volume. As a working rule, keep at least three times the injection volume above the needle tip after the last injection. For a 2 µL injection that is 6 µL; for a 10 µL injection it is 30 µL. Add the dead volume, multiply by the number of injections, and you have the true fill requirement.
The fill volume arithmetic, worked once
Suppose the method is 48 injections at 2 µL, 23-gauge needle, conical 250 µL insert. Dead volume is 6 µL. Reserve above the tip is 6 µL. Total liquid needed is 48 × 2 + 6 + 6 = 108 µL. A 150 µL fill covers it with 42 µL of headroom, which is fine. A 100 µL fill does not, and the run will fail around injection 44. This is exactly the failure I described at the top, and the fix was not a bigger injector or a new needle. It was a 200 µL fill in the same insert.
Two constraints bite here. First, the insert must not be overfilled past its working capacity, because a full insert with a septum pushed down by the needle will displace liquid into the vial neck. Keep the fill to no more than 80% of nominal capacity for a conical insert and 70% for a flat-bottom. Second, the fill must sit above the needle’s lowest reach at the start of the run, not just at the end. If the sampler is set to a fixed depth, the liquid column shrinks with every injection and the needle tip effectively rises relative to the surface. Depth-following samplers handle this; fixed-depth samplers do not.
Puncture life is a septum and needle arithmetic, not a spec sheet claim
The puncture count on a septum datasheet is a laboratory number, measured under controlled conditions with a specific needle gauge and a specific septum thickness. It is not a promise for your method. I have seen septa rated at 100 punctures start coring at 40 because the needle was a 22-gauge blunt and the injection port was misaligned by 0.3 mm. The number that matters is the one you measure on your own instrument.
Three variables drive puncture life:
- Needle gauge. A 22-gauge needle (0.72 mm OD) removes roughly 2.5 times the cross-sectional area of a 26-gauge (0.46 mm OD) per puncture. Septum damage scales with that area, so a 100-puncture rating at 26-gauge becomes roughly 40 to 50 punctures at 22-gauge. This is a real constraint, not a rounding error.
- Septum thickness and material. A 3 mm PTFE-faced silicone septum holds up better than a 1.5 mm one, but it also increases the risk of coring if the needle is short. The GPI 13-425 thread standard for 4 mL vials and the 8-425 for 2 mL vials both assume a specific septum stack height; deviating from it changes the puncture geometry.
- Needle alignment. A needle that enters the same hole every time will last far longer than one that walks around the septum. The tolerance on the autosampler’s vial position, not the septum, sets this. If your sampler’s vial plate has 0.5 mm of play, expect puncture life to drop by a third.
The arithmetic is straightforward. If your method runs 96 injections and your septum is rated at 100 punctures at 26-gauge, you are at the edge. Move to a 22-gauge needle and you are at roughly 40 punctures of real life. That means three septa per 96-injection sequence, or a change to a pre-slit septum, which trades puncture life for evaporation loss. There is no free option.
The needle gauge decision table
| Needle gauge | OD (mm) | Approx. punctures before coring, 3 mm PTFE/silicone | Best fit |
|---|---|---|---|
| 22 | 0.72 | 40 to 50 | High-volume, short sequences, robust samples |
| 23 | 0.64 | 60 to 75 | Most HPLC and GC autosamplers, general use |
| 25 | 0.52 | 90 to 110 | Long sequences, low-volume inserts |
| 26 | 0.46 | 100 to 130 | 96-well and micro-volume work, fragile needles |
These are working ranges from my own benches, not catalog claims. They assume a correctly aligned sampler and a septum changed on schedule. If your sampler is misaligned, halve them.
Match insert geometry to the sampler before you match it to the sample
The insert has to physically sit in the vial and the needle has to physically reach the liquid. That is a mechanical fit, and it is decided by the sampler, not by the sample. A 5 mm OD insert in a 2 mL vial with a 6 mm ID neck leaves 0.5 mm of radial clearance; a 6 mm OD insert in the same vial will not seat. The 2 mL vial you are using has a specific neck ID, and the insert’s OD plus the wall thickness has to clear it with enough room for the insert to drop freely.
I use a simple check. Insert OD plus 0.8 mm must be less than the vial neck ID. If it is not, the insert will hang in the neck, the needle will hit the insert shoulder instead of the liquid, and you will get a partial injection that looks like a viscosity problem. This is a geometry failure, and it shows up as a short injection volume, not a coring event.
Depth matters too. A 250 µL insert is typically 30 to 32 mm tall; a 150 µL insert is 28 to 30 mm. The autosampler’s needle depth is set in the method and is often fixed at the factory default for the vial, not the insert. If you switch from a 150 µL to a 250 µL insert without changing the depth, the needle will not reach the bottom of the taller insert and you will lose the last 20 to 30 µL. That is a dead volume you created, not one the insert has.
What to check on the sampler before ordering
- Needle depth range and whether it is programmable or fixed. Fixed-depth samplers need the insert height matched to the vial height.
- Vial plate tolerance: 0.5 mm or better. Measure it, do not assume it.
- Minimum liquid height the sampler can reliably aspirate (usually 2 to 5 mm above the needle tip).
- Whether the sampler supports bottom-sensing or liquid-level sensing. If it does, dead volume drops to 2 to 3 µL and the fill arithmetic changes.
- Septum stack height the sampler expects. A 1.5 mm septum in a port designed for 3 mm will leak; a 3 mm septum in a 1.5 mm port will not seat.
Two field cases where the arithmetic was wrong
Case 1: the sequence that ran dry at injection 47. Symptom was a 12% area drop over the last four injections and a system suitability failure. The measurement that identified it was a gravimetric check: I weighed the insert before and after a 48-injection run on a spare instrument and found 8 µL left, below the 6 µL reserve plus 6 µL dead volume the method needed. The fix was a 200 µL fill in the same 250 µL insert, plus a note in the method that the fill volume is a calculated value, not a guess. The insert was fine. The fill was wrong.
Case 2: the coring that started at injection 38. Symptom was a sudden rise in needle back-pressure and a visible silicone fragment in the vial. The measurement was a puncture count on a spare septum: 38 punctures before the first core, against a 100-puncture rating. The needle was a 22-gauge, not the 26-gauge the rating assumed, and the sampler’s vial plate had 0.6 mm of play. The fix was a 25-gauge needle and a plate alignment service. The septum rating was not wrong; it was measured under conditions the lab did not have.
A decision checklist for sizing an insert to an injection count
Work through this in order. Each step feeds the next, and the numbers are the ones that matter, not the catalog claims.
- Count the injections. Include standards, blanks, and QC. A 48-injection sequence is often 56 with QC.
- Set the injection volume and needle gauge. These come from the method, not the insert.
- Calculate dead volume for the insert geometry: 5 to 8 µL conical, 15 to 20 µL flat-bottom, 2 to 3 µL if the sampler has liquid-level sensing.
- Add the reserve above the needle tip: 3× injection volume, minimum 5 µL.
- Multiply and add: (injections × injection volume) + dead volume + reserve = minimum fill.
- Check the fill against 80% of nominal capacity for a conical insert, 70% for flat-bottom. If it exceeds, step up to the next insert size.
- Check the puncture arithmetic: injections ÷ punctures-per-septum at your needle gauge = septa per sequence. Round up.
- Confirm the insert OD plus 0.8 mm clears the vial neck ID, and that the insert height matches the sampler’s needle depth.
- Verify the septum stack height against the GPI thread standard for your vial (13-425 for 4 mL, 8-425 for 2 mL).
- Record the fill volume in the method as a calculated value with its inputs, so the next analyst does not re-guess it.
If any step fails, change the insert size or the needle, not the fill. Overfilling an insert to hit an injection count is how you get liquid in the vial neck and a short injection that looks like a sampler fault.
What this means for buying
When you specify an insert for a given injection count, you are specifying three numbers: the fill volume, the dead volume, and the puncture life. The catalog gives you nominal capacity and a puncture rating. Neither is the number you need. Ask the supplier for the working capacity at your needle gauge and the dead volume at your sampler’s depth setting. If they cannot give you both, the insert is not specified, it is just described. The HPLC consumables market is full of inserts with the same nominal capacity and different working capacities, and the difference is the wall thickness and the cone angle, not the label.
For method development, I default to a 250 µL conical insert with a 5 mm OD for anything up to 60 injections at 2 µL, and a 400 µL insert above that. I keep a 25-gauge needle on the autosampler unless the sample is viscous, and I change septa at 60 punctures regardless of the rating. That combination has kept my sequences from failing on volume for the last six years. The chromatography supplier you use matters less than whether they will give you the working numbers. Agilent publishes working capacities and dead volumes for its autosampler inserts; Thermo Fisher does the same for its sample handling line. Use those numbers as a starting point, then verify on your own instrument.
For regulated work, the fill volume and puncture count belong in the method validation record, not in a lab notebook. The EPA SW-846 methods specify container and preservation requirements but do not name the insert; the insert is a sampler accessory, and its working volume is your responsibility to document. Restek’s technical resources have useful guidance on needle and septum compatibility that is worth reading before you lock a method.
The decision rule is this: size the insert from the calculated fill volume (injections × injection volume + dead volume + reserve), confirm the fill is under 80% of nominal capacity, and confirm the puncture count at your needle gauge covers the sequence with at least one septum change. If either check fails, change the insert or the needle. Do not change the fill. The insert that passes both checks is the right one, regardless of what the catalog says its capacity is.
References & further reading
Related resources from our lab consumables network:
- Vial Insert at hplcinsert.com
- 2Ml Vial at 2mlsamplevial.com
- Hplc Consumables at hplcconsumable.com
- Chromatography Supplier at chromatographysupplier.com
External references and standards: